Installing

Contents
Before installing the Astro-Physics V2 telescope driver please make sure sure you you have installed the ASCOM 6.0 (or later) platform. You can download it from https://www.ascom-standards.org. You may also need to install the Microsoft .Net Framework 3.5 and 4.x, and possibly service packs. More details on the requirements can be found on the ASCOM-Standards site.
You can always install any version of the V2 driver without uninstalling the previously installed version of the V2 driver. Note also the the V2 driver is independent of the V1 driver. Both can coexist with the V1 driver (that is both can be installed simultaneously. However both cannot be used simultaneously with the same telescope).
If you are updating from a beta version of the driver (v4.99.58 or earlier) you should know that the driver's work directory has changed.
On XP the new directory is (assuming C: is the Windows boot drive):
C:\Documents and Settings\All Users\Application Data\Astro-Physics\ASCOM
On Vista or later windows operating system it is here:
C:\ProgramData\Astro-Physics\ASCOM
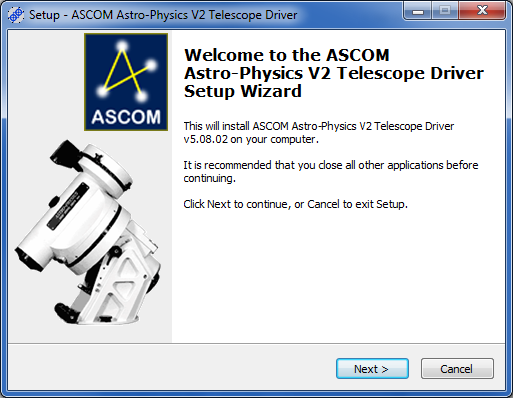
Confirm the version of the driver is as expected; then click Next >.
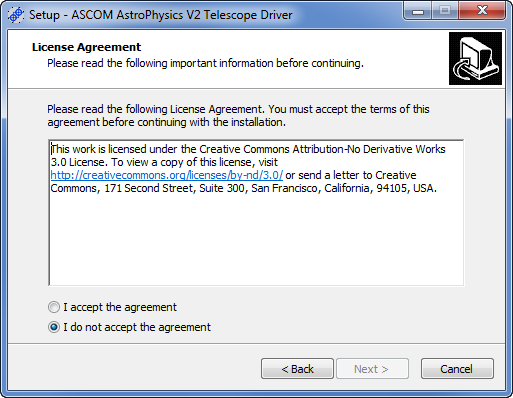
Please be sure to read the license agreement and accept it if you agree to it. Click Next >
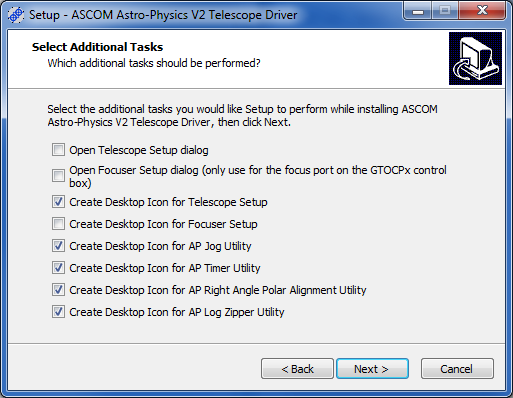
If you haven't already configured the ASCOM driver (from an earlier version of the V2 driver), then check the option to Open telescope setup dialog. If you also want to set up the focuser driver then check Open focuser setup dialog. Please note that settings from the older V1 driver will not be imported into the V2 driver. Click Next to continue.

Click Install to install the driver. If you selected to open the telescope setup dialog you will now see it:
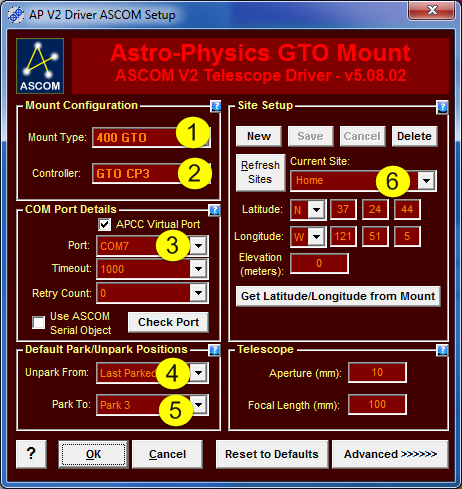
The minimum setup includes:
1. Mount Type
2. Controller. All mounts made within the last few years have the GTOCP3, GTOCP4 or GTOCP5 controller.
3. COM Port. If you have your PC connected click "Check Port" to make sure you have the correct port selected.
4. It is recommended that you configure Unpark From to "Last Parked"
5. Select your desired park position
6. Site location... see this section for more details.
More details can be found in this section
Click OK to continue.
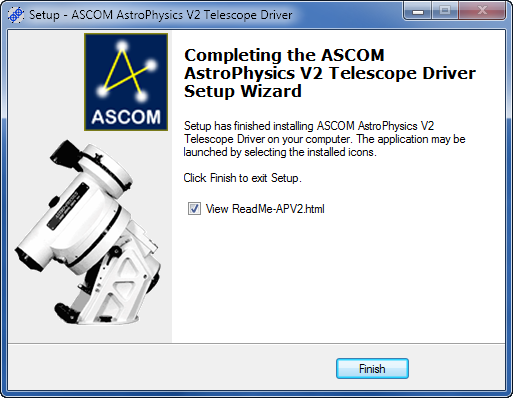
Click Finish to exit the installer. The driver is ready to be used!